Grinding and honing processes

Resource efficiency – chip by chip
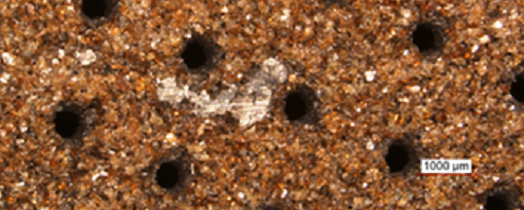
Finishing by using the cutting processes of grinding and honing is indispensable in numerous precision components due to high requirements regarding accuracy and surface structure of the workpiece. However, it is highly complex to design the process, tool and periphery by using geometrically undefined cutting edges. Fraunhofer IWU has extensive experience in this field and can resort to numerous reference applications. When designing grinding and honing processes, the entire process chain is always considered.

In contrast to geometrically defined cutting edges, the specific cutting energy in grinding and honing is several times higher due to the high share of friction. Such specific cutting properties usually require cooling lubrication in grinding. For this reason, a major focus of current research activities lies on reducing the amount of cooling lubricant or even using only minimum quantity lubrication.

  • Form honing
  • Energy-efficient grinding with minimum quantity lubrication
  • Cryogenic grinding
  • Gear grinding
  • Controlled grinding process
  • Honing with cryogenic process cooling
  • Technology development for manufacturing high-pressure components
  • Manufacturing microstructures with optimum friction properties
  • Thermally and mechanically controlled finishing

  • Energy-efficient finishing
  • Controlled grinding processes
  • Adaptronic form honing
  • Tribologically optimized gear machining
  • Surface engineering by finishing and burnishing

Development of process chains

  • Market analysis
  • Investigation of process chains
  • Process optimization
  • Cost-benefit calculation
  • Development of manufacturing concepts
  • Rough and detailed planning of technological processes
  • Technological dimensioning of cutting machines
  • Preparation of specifications and machine concepts
  • Recommendations for machine investments
  • Design planning
  • Optimization of process control

Development and evaluation of machining strategies  

  • Market analysis
  • Feasibility studies
  • Technology development
  • Developing process characteristics and optimal machining strategies
  • Evaluation of tools
  • Manufacturing of prototypes

Quality assurance

  • Photogrammetrical logging of component and tool geometry
  • Measurement of micro components using confocal microscopy and fringe projection
  • Measuring of machines and tools
  • Structural analysis using scanning electron microscope
  • Measurement of residual stress by X-ray diffractometer
  • Detection of burning by Barkhausen noise (Rollscan 300), nital etching and measurement of microhardness

Machine technology

  • Nagel VARIOHONE VSM 8-60 SV-NC
  • Universal grinding machine KEL-VARIA UR 175/1500
  • Gear manufacturing center Kapp KX300P
  • Jig grinding machine SkoE400

Software

  • CAD systems: Inventor, Pro-Engineer, CATIA
  • CAM systems: software for non-circular grinding KEL-POLY, graphical programing software KEL-ASSIST

Testing technology

  • Precision measuring machine PRISMO7S-ACC (ZEISS)
  • Various devices for measuring optical roughness and profiles
  • Confocal microscope, ITO Stuttgart University
  • White light interferometer, ITO Stuttgart University
  • MikroCAD, GFM Teltow
  • Vcheck, GFM Teltow
  • Scanning electron microscope, LEO Oberkochen
  • EDX system, Oxford Instruments
  • Optical measuring station UBM
  • Contact measuring devices for roughness and profiles, HOMMEL and Mitutoyo
  • More info